You Might Not Need Homebrew
Homebrew is amazing. I love the user experience - it is super easy to add new packages to macOS. However, I've just realized, that I barely use it anymore. What follows is how I work without Homebrew.
How I've used Homebrew previously?
Ever since I can remember, I've used Homebrew extensively:
- wget on macOS? just run
brew install wget, - need Redis for a project? no worries, Homebrew had my back with
brew install redis.
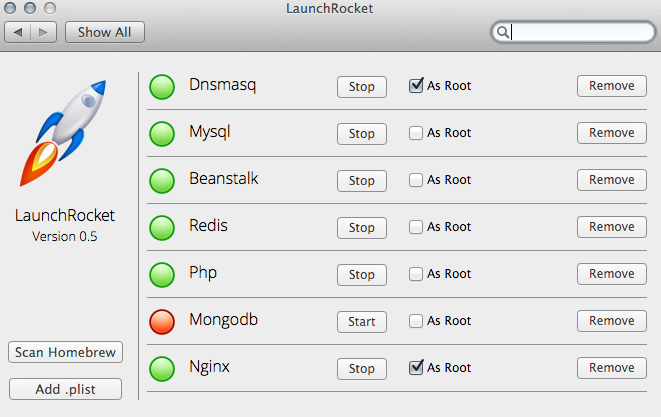
LaunchRocket made things even better. In case you are not familiar with LaunchRocket, it adds a preferencePane for your System Settings, so you have a UI on top of Homebrew. It enables you to easily turn on or off different services:
Back in those days, setting up Docker on macOS was painful - you had to:
- install VirtualBox,
- install boot2docker,
- and set up the
DOCKER_HOSTenvironment variable.
While it does not seem a lot, it is far from a great user experience.
Luckily for us, Docker fixed this. With the help of HyperKit (a hypervisor built on top of the Hypervisor.framework in macOS), now we can run Docker natively on macOS.
As I've started to use Docker more, I've also started to use Homebrew a lot less frequently.
Why Docker instead of Homebrew?
Most companies running backend services deploy their artifacts using some kind of containerization technology, most probably Docker. I found that the closer one's development machine is to the production environment, the better understanding they'll have of their production systems. That can go a long way if you think about setting up new production environments, being on call, or just troubleshooting production issues.
How did Docker change my workflow?
Running wget-like commands on your Mac
As with Homebrew, you can search for Docker images using the Docker CLI too. In this case, we'd like to grab an image that has wget:
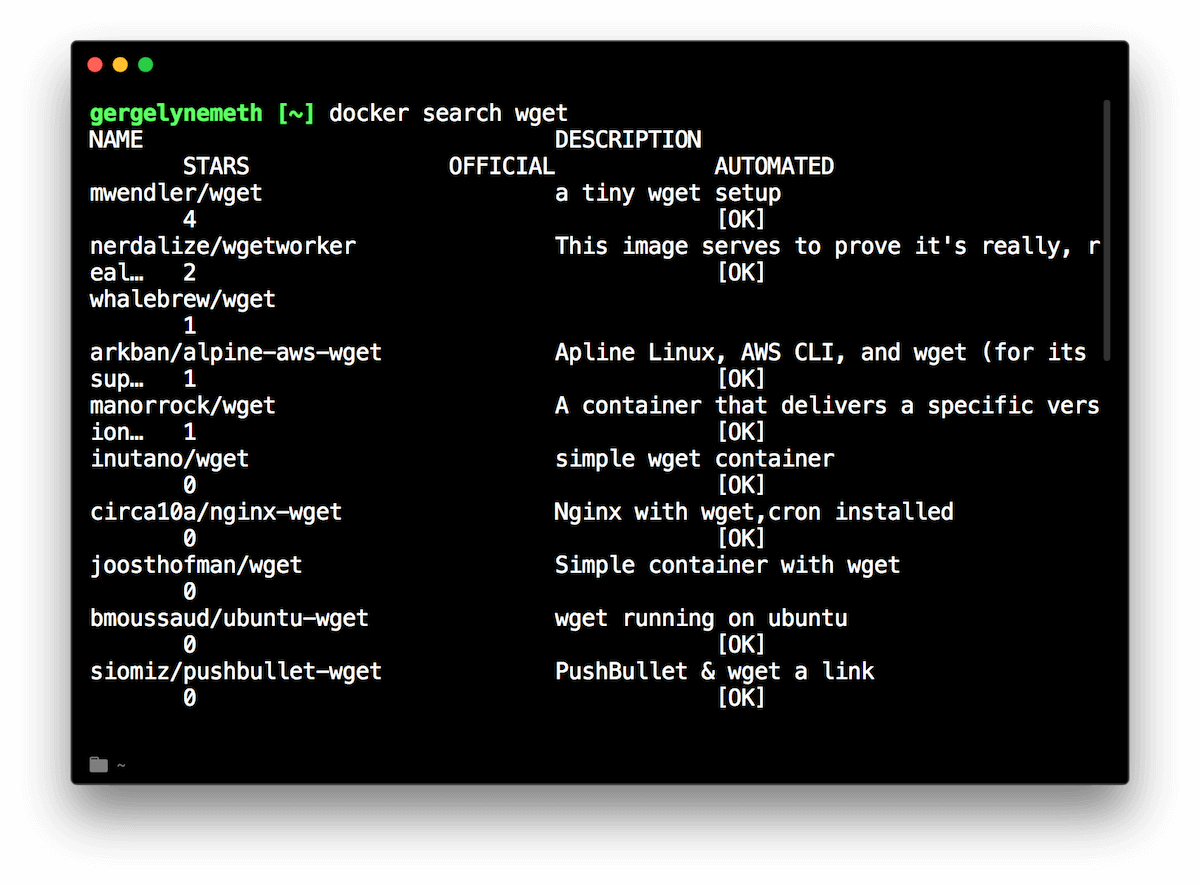
docker search wget
Once you have the image you'd like to run, you can run wget using:
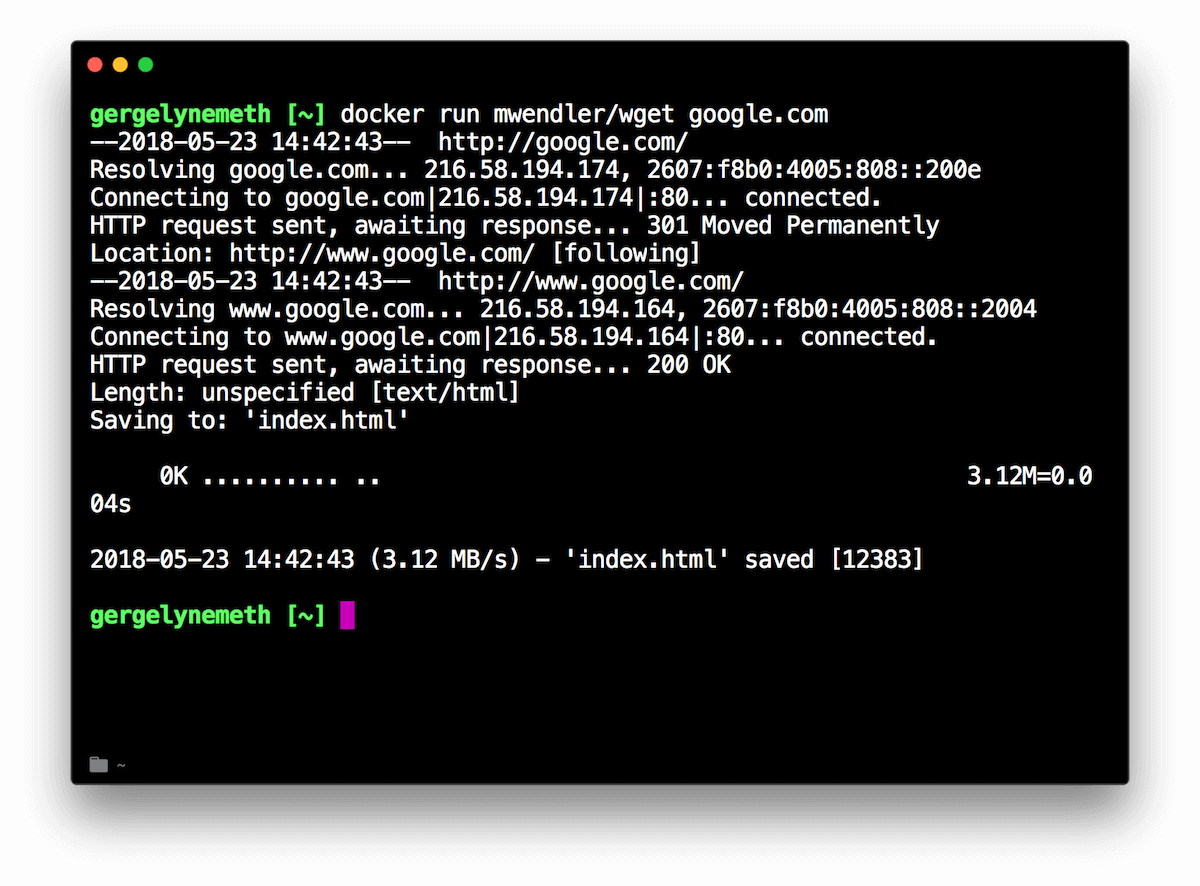
docker run --rm mwendler/wget google.com
How does this work? The Dockerfile that produces the image we used previously can be found below. The most important part of our example is the ENTRYPOINT instruction. An ENTRYPOINT allows us to configure a container that will run as an executable.
FROM alpine# install openssl and the complete wgetRUN apk --update add openssl wget \\# clean up cached artifacts&& rm -rf /var/cache/apk/*# the exposed applicationENTRYPOINT ["wget"]
You may have noticed that the index.html file was generated, but it only lived inside the Docker container. For some commands, this behavior may be okay, or just using the standard output is enough, but there are cases when you want to access the file on your host machine. In those cases, you can simply mount your current working directory as a volume to the Docker container:
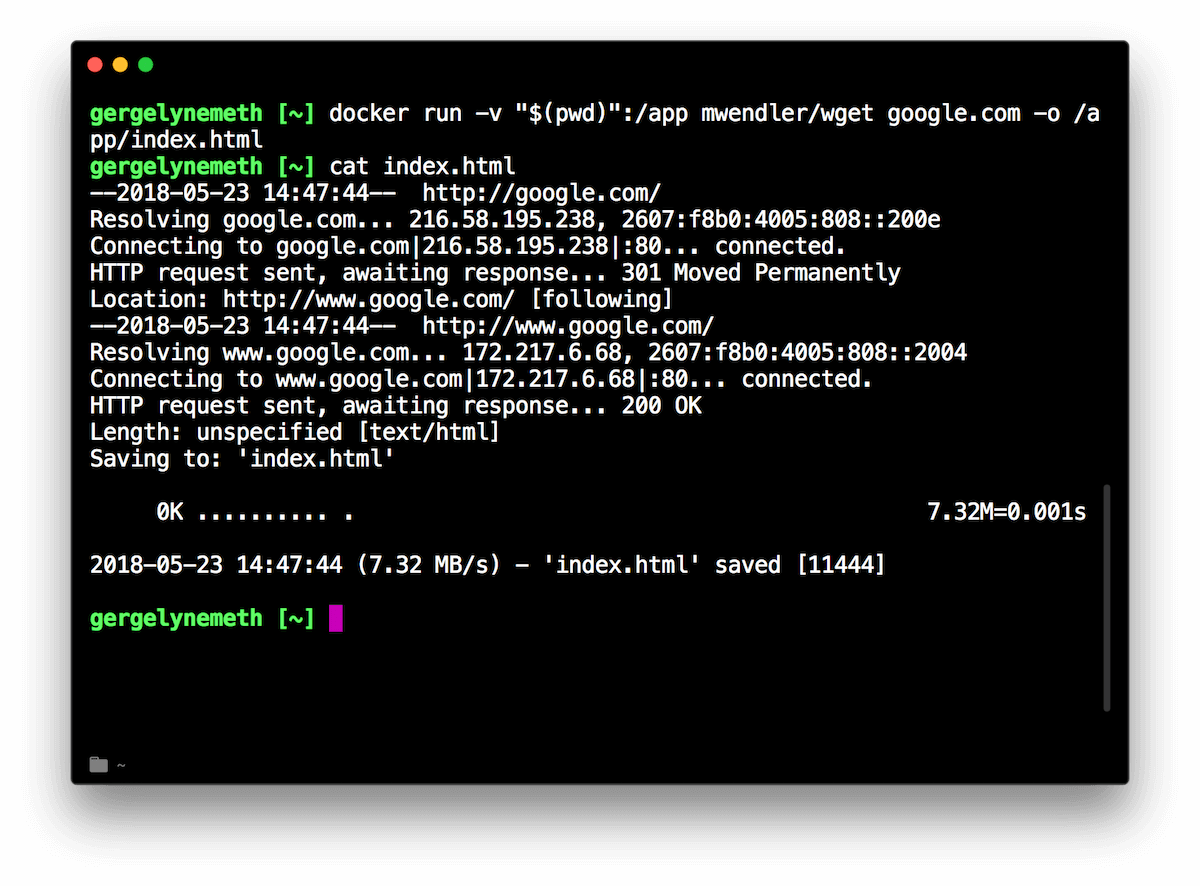
docker run --rm -v "$(pwd)":/app mwendler/wget google.com -o /app/index.html
Running databases in Docker
Most probably it is not wget that's most crucial to your day-to-day job, but some sort of database for the application you are working on.
To run a database in Docker locally, you'll have to do the same thing as we did with wget. Let's take a look at PostgreSQL, and how you can run it locally using Docker!
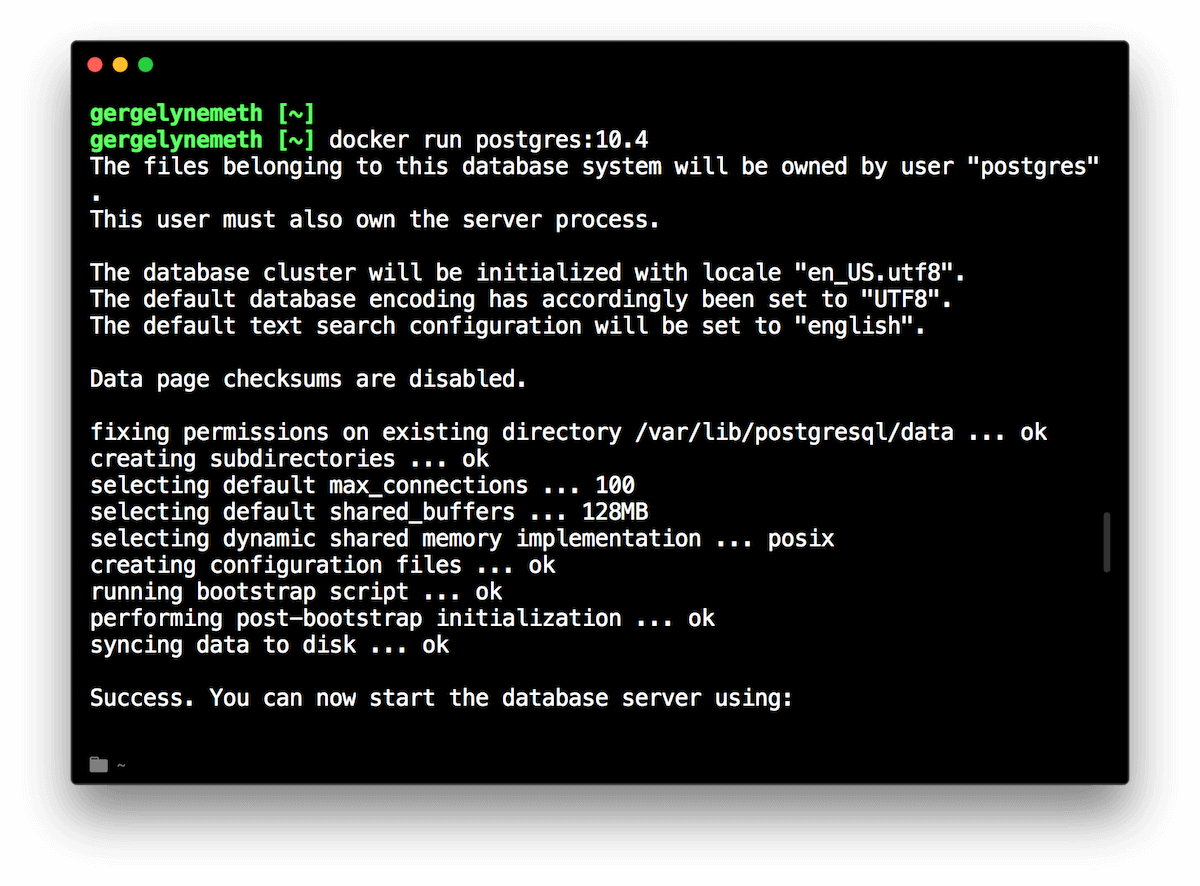
Running PostgreSQL with Docker using docker run --rm postgres:10.4
To set the PostgreSQL password, you can pass in the POSTGRES_PASSWORD environment variable:
docker run --rm -e POSTGRES_PASSWORD=mypassword postgres:10.4
The last thing to do is to expose the PostgreSQL port to the host machine. So the final command looks like this:
docker run --rm -p 5432:5432 -e POSTGRES_PASSWORD=mypassword postgres:10.4
Mission Control for Docker
Just like Homebrew, Docker can be controlled from an application with UI too: meet Kitematic.
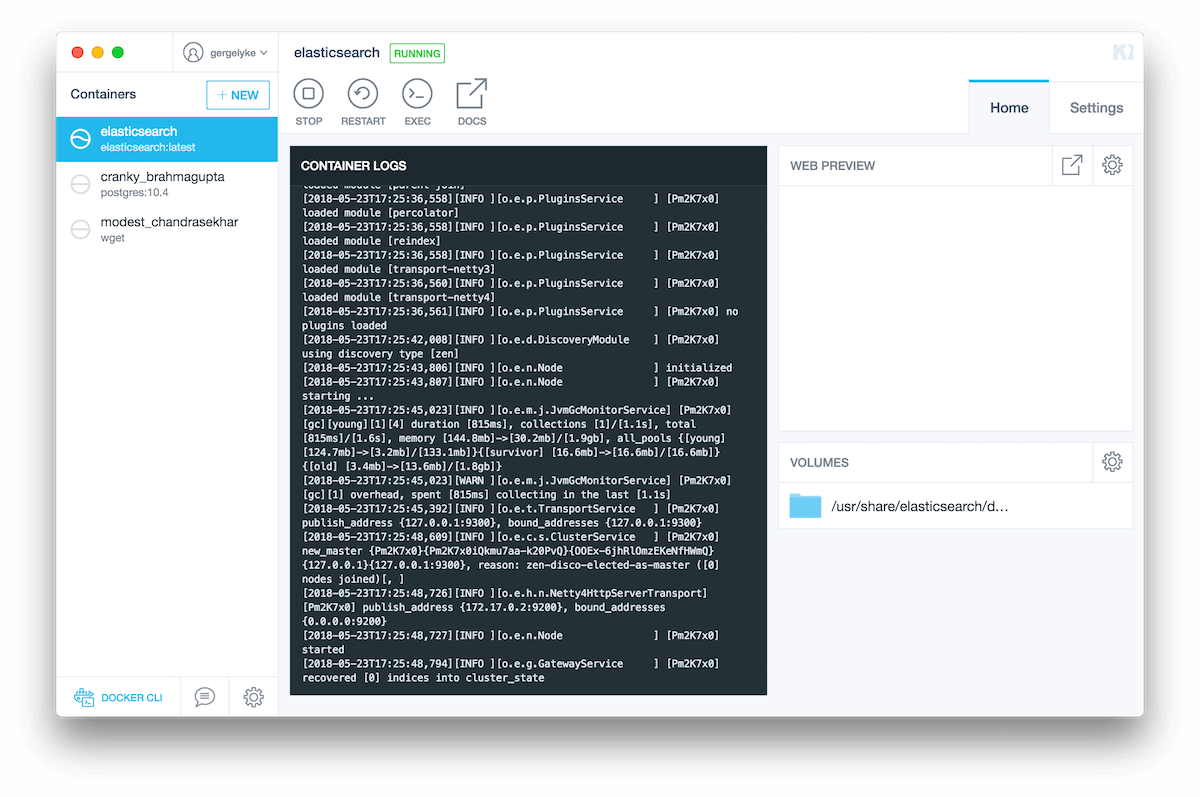
Once downloaded and installed you can search for Docker images you'd like to run. Let's take a look at the example of ElasticSearch!
Pulling the ElasticSearch Container From Docker Hub
Once you search for ElasticSearch in the application and click "Create", Kitematic will pull the image and start up the container:
Using the Web Preview
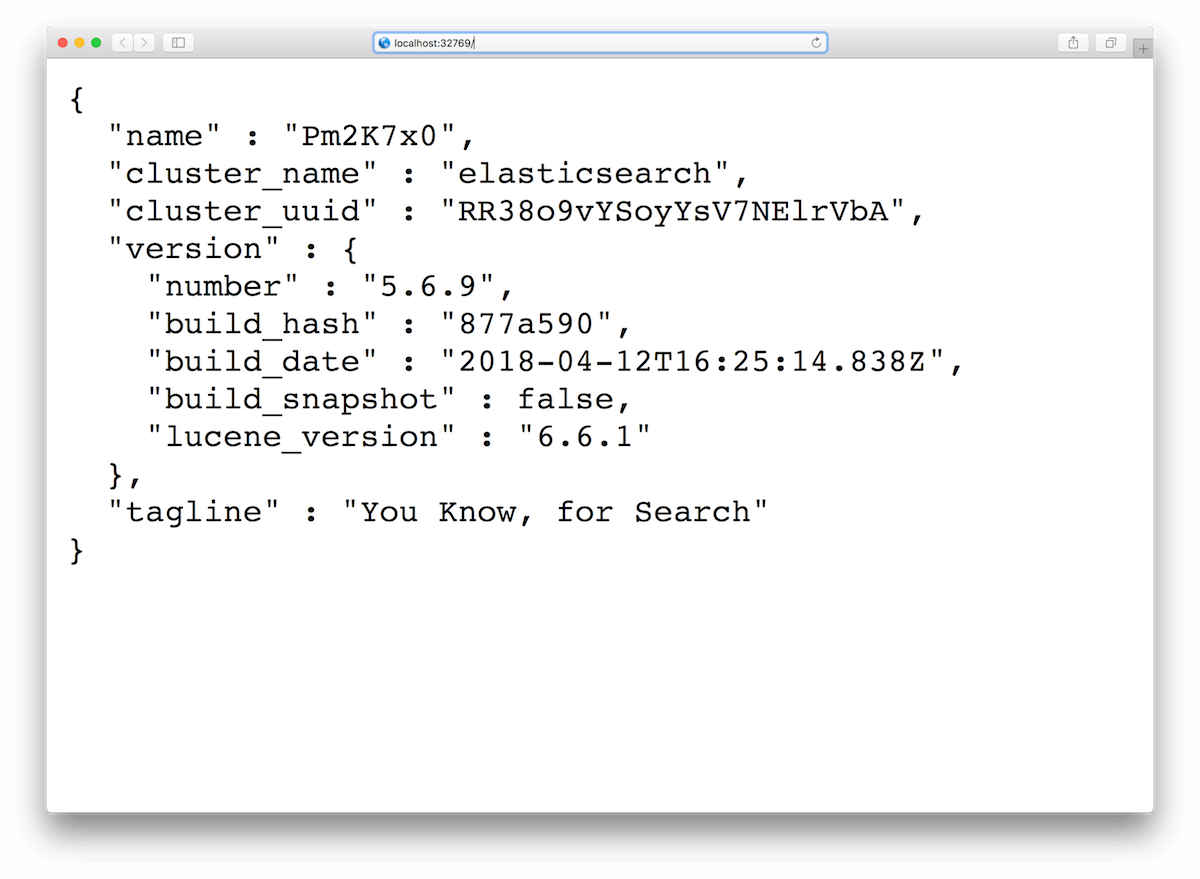
After the container has started, you can access its exposed API by clicking the "Web preview" button. As you can see, you've just spun up an ElasticSearch instance in a matter of minutes, without installing any of its dependencies locally:
Configuring the Container
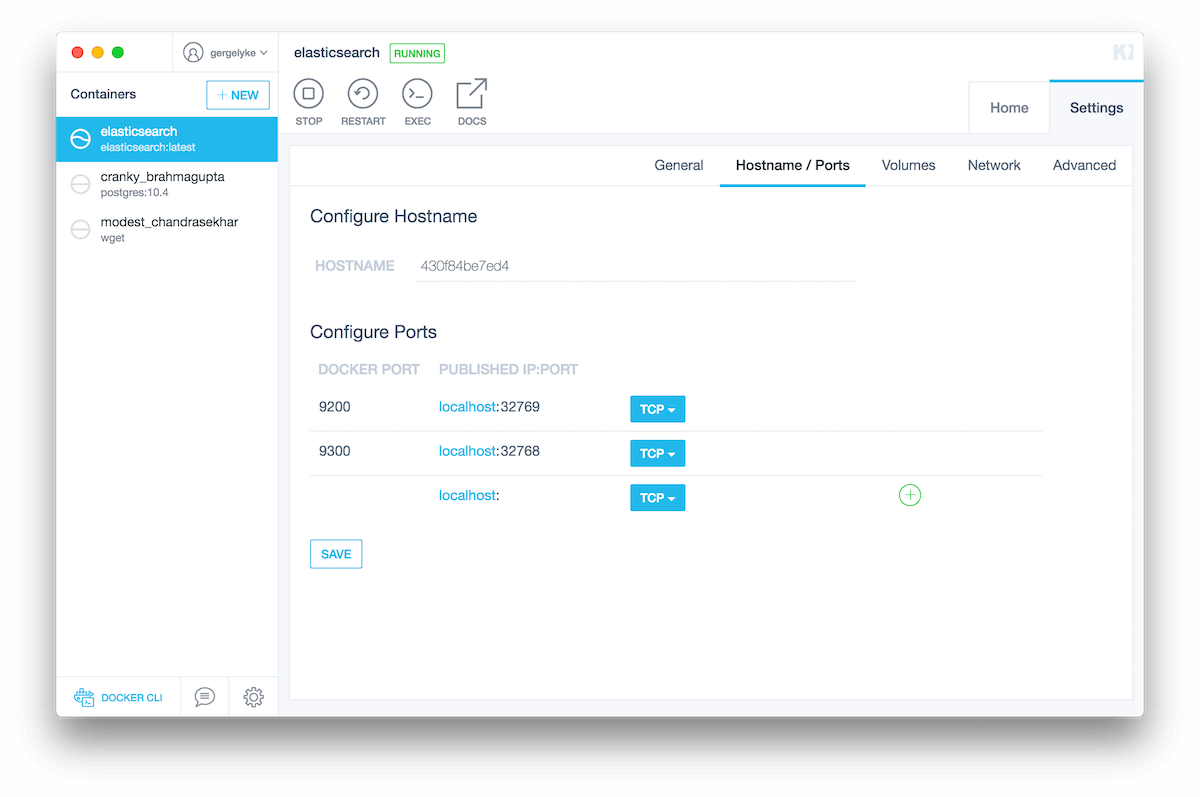
Go to the "Settings" tab to configure the container instance - you can pass in environment variables, expose ports, modify networking or attach volume if you'd like a persist your data.
Conclusion
Docker is not a replacement for Homebrew.
If you'd like to add packages to your macOS like wget, you should pick Homebrew, as that's easier to use. Most probably you don't want to mount a volume just to download a file, right?
However, for more complex problems, like running databases, I'd recommend giving Docker a chance. It makes installing and running them frictionless, as you don't have to deal with installing tens of dependencies to run (or build) them, nor you have to be worried about these dependencies' conflicting version needs.
